Pages

Recent Posts

Showing posts with label technology. Show all posts

Sunday, March 1, 2015

Digital Game Shows

Hey! I am so excited to share my brand new game show idea with you! 
I have some third graders who are quite low. They struggle with vocabulary and basic sentence structure. I decided that I needed to think of a way to engage them, but still teach hard-core vocabulary before our state assessment.

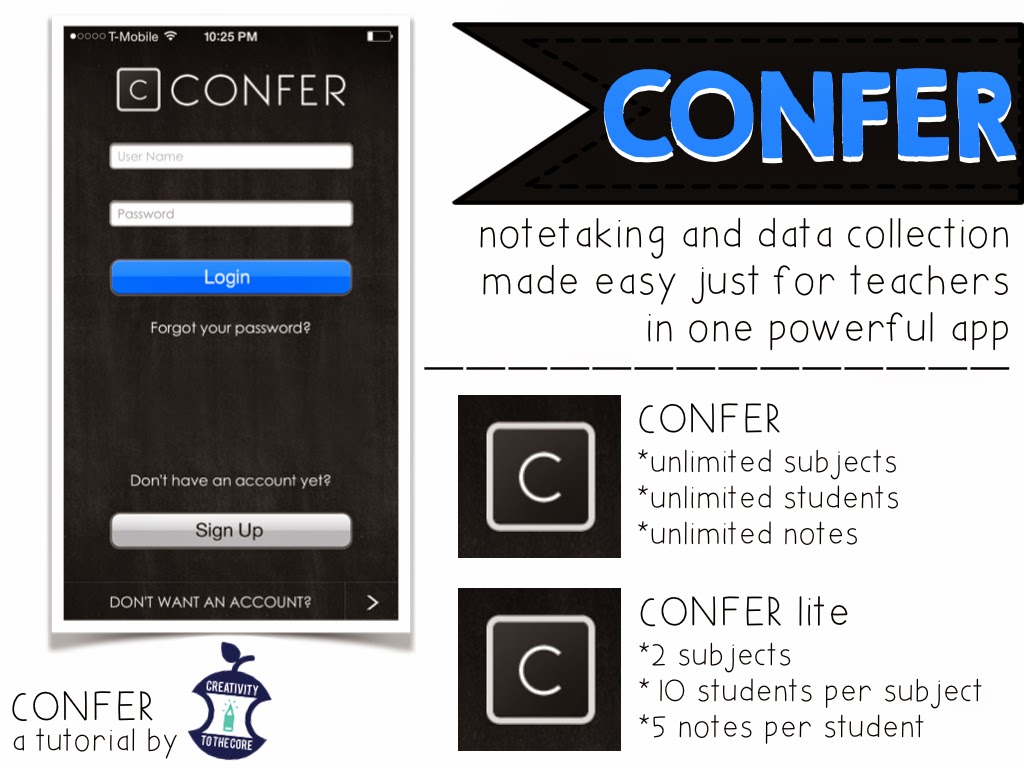
So, I began working on this game show product a few weeks ago. Since then, it has been played by my kiddos and edited by many other teachers to make sure that there are no kinks. I am happy to announce that my first digital game show is posted and ready to be enjoyed by many students! Keep reading to hear more about it, and scroll down for a link to the product.

What is a digital game show?
Basically, it is like playing Jeopardy! The game is created in PowerPoint and has clickable links throughout. You MUST have PowerPoint to play it. As you click, new pages appear. The kids were amazed that the answers were instantly given to them!

Why do I need a digital game show?
First of all, who doesn't love a game show?!?! :) 
Digital game shows are engaging to all learners in my classroom. Students really get involved and excited about these games. We have been using this game show as a review of multiple meaning words. It is perfect timing, because our state assessment is in about 17 days.
How do I keep students engaged whole group?
I hardly ever teach whole group. If I do, it's a mini lesson or review that lasts about 10-15 minutes. However, the game show I created is 20 questions and takes longer than 15 minutes if you are talking and teaching as you go. In my two third grade classes, we use white boards ALL THE TIME. So, we asked students to take them out and record their answers as we read. I also included a recording sheet in the PowerPoint in case you would like to print that out. We all have those few kids who stare off into space! :) Having some form of writing keeps students accountable for their learning. Plus, they actually enjoy recording and checking their answers.
How can I integrate skills?
If I am playing a game with my students, I am trying my very best to get their best effort. I read with funny voices, jump around, and act silly when they get the correct answers. I am also embedding skills in our fun. In the picture above you will see that my kids wrote "verb" on their boards. For each question, I asked them to record their answer, and then explain if it was a noun, verb, or adjective. This was tricky for many of my struggling students. These little additional activities can give you LOTS of data on your students. (Let me be honest. This part sincerely scared me! I had some kids writing noun when it was an action and adjective when it was a place. AHHHH!)
 How can I use game shows?
I have created this game show to be very versatile. I have personally used it as a mini lesson and in whole group to review for our upcoming test. I even had a couple girls who wanted to play the game on my computer during our break on Friday. Whether it be with the entire class or one person, the game show is engaging and effective. I am excited to add this file to our classroom computers so that students can play the games during centers as well!

I can't wait to make more of these games in the future, because my kids are certainly hooked! I welcome you to take a closer look at the preview file in my store to see if it is something that you would enjoy. Have fun!


Sunday, December 7, 2014

Confer App: a note taking and data collection app for teachers!

Good morning! I wanted to share my post from our collaborative blog, The Primary Pack. Enjoy!

Today, I must cut right to the chase because I am beyond excited about this new find! I was at a conference in Jacksonville, Florida right before Thanksgiving listening to a 2nd grade teacher talk about differentiation. It was a great presentation, but to be honest, I was thinking "I already do most of these things in my own classroom". That was until I heard her mention "this new DATA COLLECTION APP". My ears perked up! My eyes flew from my notebook to her face. We are in the age of data, data, data. This is perfection!

Really? I can just add my students into this app and log all of my annotations right on my iPhone? NO WAY. Wait what? I can take pictures of their work and add them to each student's personalized file? This was too good to be true.

But it IS true! It's called Confer. I may seem a little too excited about this, but let me tell you - It is worth it! It's available in the iTunes App Store or through Google Play for Android.
There are currently two versions of Confer. Confer (regular) is the full price version. It is $24.99, which may be more than you are used to paying for an app...however, think of it as a portable, digital, never-ending, never full data binder. I don't know about you, but I would pay lots of money for that.

The Confer lite edition is the free one that you can download quickly. Test it out for yourself! However, if you have more than 10 kids in your class (most of us) and you teach more than 2 subjects (most of us), this may not be ideal. Confer lite allows you to store two subjects with 10 students per subject. It also only allows for 5 notes per student.

Take it from me and download Confer lite. You will love it. Now for a closer look...
You can organize all of your information into three major sections: Subjects, Students, and Notes. Once you create an account, add subjects by using the + in the top right corner. Then add students to the subject. Once you add your class list once, you don't ever have to retype their names! To take notes on each student, just click on their names and then click the + in the top right corner.
A sort feature is at the bottom of most screens in the Confer app. My absolute favorite sorting feature is the options for student sorting. Look at the middle picture in the image above. I can always sort by first or last name, but I can also sort by the date, tag, strength, teaching point, next step, level, group, and flag! CRAZY AMAZING. 

I can literally add my students and their levels and simply click sort by level. Ta-da! Reading groups done. Then, if I want to teach a small group lesson on inferences, I can click sort by teaching point or next step and ta-da: focus group is chosen for me. No more flipping though pages and pages of charts! I can also flag students green, yellow, or red in certain subjects or topics, and then group them by flag color so that I can easily see where each student is. Here is a picture from Confer's website that displays the flagged students in each topic.
Once your students are added, adding notes is a breeze!
This next feature sold me instantly! Click on a student, take a picture of their work, and it's stamped with the date and a comment. Easy peasy and PERFECT for parent-teacher conferences, data chats with administration, and RtI meetings.
And just when you thought Confer had wow-ed you...it can export! Yes! Just click the arrow on the far right bottom of the screen to export a file from the app. There are many different options for you to choose from!
Fonts by KG Fonts & Hello Fonts, Graphics by Pretty Grafix & Ashley Hughes

I am SO excited to use this app full time in the classroom starting in January. It will help me to be efficient with my time and to keep everything in one place. I love that I can check Confer at home in my bed or while I'm talking with a concerned parent on the phone. In these data-driven times, we teachers must find ways that truly work to manage our time wisely and help our students achieve their fullest potential. I hope this little tutorial will help you this year! 

Check out a more in depth tutorial on the app or website. For more information and a video from David Lowe, the creator of Confer and a NBCT, click here. Happy data collecting!


Wednesday, September 10, 2014

Inserting Hyperlinks into Secure PDFs: How-To

For the longest time, I thought I was securing my PDFs correctly. Only recently did I realize I was only HALF correct. When you save a PowerPoint or Keynote file as a PDF with a password so that others cannot copy and paste or drag your fonts and clipart off of the page,  the hyperlinks do not always stay. What happens? The PDF secures everything. Therefore, when PDFs are posted for buyers, they see tons of buttons, but no links.

Also, many clipart artists have written in their Terms of Use that a link to their store must be provided. How can you do this if your link isn't working in the secured file???

I had no idea. I searched for hours on the TeachersPayTeachers Seller Forum and finally discovered the answer. I have taken screen shots of each step, in the hopes of clarifying what I was completely confused about. 

***Before you begin, you will need Adobe Acrobat. The free Adobe Reader that is usually on computers is not the same. Adobe Acrobat is NOT free. It's about $20 a month or $120 for the year (educator discount). However, there is a free trial. I am using the free trial right now and plan to purchase for the full year when the trial is up. As far as I am aware, there is no other way to secure PDFs while still keeping hyperlinks active in the PDF.

The following steps start at your original PowerPoint or Keynote file. I used Keynote for these images, but PowerPoint will be essentially the same.
You have successfully secured your PDF. If you open this PDF you will not be able to drag your clipart or borders off of the screen.
Now on to the hyperlinks. But first, you must find the PDF you just secured. It usually has a little flipped back corner in the top right.
I want to add hyperlinks to my credits page, so I go to that page first. I will also add a "Provide Feedback" link that directs buyers straight to the product so that they can leave feedback and gain TpT credits (We all love us some TpT credits!!!). In the future, I will also be adding a "You May Like..." page where I list a few cover pages of other products that are similar. This page will have direct hyperlinks back to the products in my TpT store. 

Once you have clicked on "Add or Edit Link":
MAKE SURE YOU SAVE! :)

And that's it my friends. I hope this was helpful information for some of you. I know it was for me! When you are finished, your products will be hyperlinked and ready to sell! Adding hyperlinks in product listings on TpT is also a great way to promote similar products within your store. Hyperlinks have been shown to increase sales....so why wouldn't you spend the extra few minutes?!?!

If you have any quick questions or comments, please leave them below. If you have a more in depth question about this process or a question that relates directly to your product, please email me at creativitytothecore@gmail.com.

Happy Hyperlinking!
Pin It button on image hover